
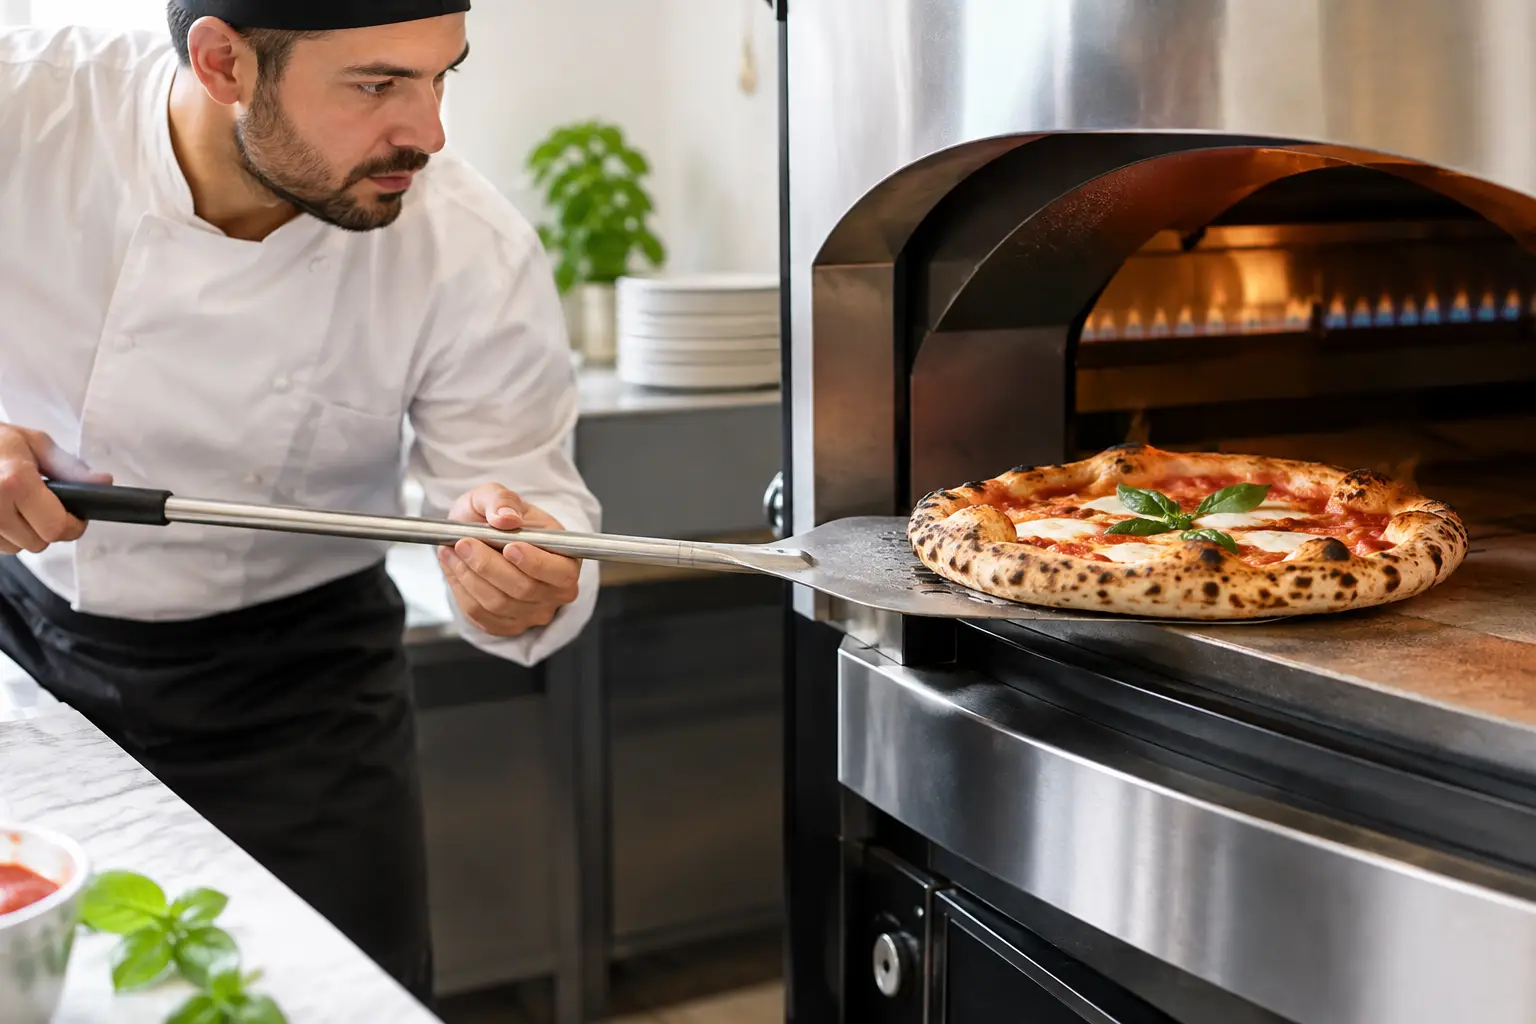
A gas flame can produce remarkable pizza, but gas oven pizza baking is not simply a matter of turning the control to high and waiting for the dome to heat. The same oven can deliver a tender, well-spotted cornicione on one bake and a pale, dry, uneven pizza on the next. The difference is usually not the recipe. It is the pizzaiolo's ability to read heat, manage the flame, and match the dough to the oven.
For Neapolitan-style pizza, a gas oven is a serious tool when used with discipline. It offers clean heat, repeatable control, and a practical path for home cooks and professionals who do not have a wood supply or the space for a traditional wood-fired oven. It also asks for a different kind of attention. Flame location, deck recovery, and turning rhythm matter on every pie.
What Gas Oven Pizza Baking Can and Cannot Do
First, distinguish between a household gas range and a gas-fired pizza oven. A conventional kitchen oven, even one with a strong broiler, generally operates far below the temperatures used for traditional Neapolitan baking. It can make very good pizza, especially on steel or stone, but it will not reproduce the fast 60 to 90 second bake, pronounced leopard spotting, and soft center associated with a high-temperature Neapolitan oven.
A purpose-built gas pizza oven is different. Many reach 750 to 950°F, allowing the dough to set before excessive moisture leaves the crumb. At those temperatures, the rim expands quickly, the underside colors from the deck, and the toppings cook in the brief window before the crust becomes brittle.
That does not mean every pie should be pushed to the oven's maximum setting. A wet dough, a heavily topped pizza, or a cooler deck may need a slightly lower flame or a longer bake. Authenticity is not measured by a single number on a dial. It is measured by balance: a fully baked base, a light and airy rim, properly melted cheese, and toppings that retain their character.
Heat Management Is the Central Skill
Gas ovens tend to create a powerful heat zone near the burner. In a rear-flame oven, the back of the pizza receives intense radiant heat while the front bakes more gently. This is why a pizza left in one position will often scorch at the back before the front has properly colored.
Preheat thoroughly. The air temperature may appear ready long before the floor has stored enough energy to bake a pizza well. For many gas pizza ovens, 30 to 45 minutes of preheating is a sensible starting point, though oven design, stone thickness, ambient temperature, and target bake temperature all affect that timing. A surface thermometer is more useful than relying only on a built-in gauge because the deck is where the bottom of the pizza actually cooks.
For a high-heat Neapolitan-style bake, the deck often needs to be in roughly the 750 to 850°F range. The best setting depends on the dough's hydration, fermentation, flour, and the specific oven. If the base burns before the rim develops, the floor is too hot for the top heat available. If the rim colors while the center underside remains blond and soft, the deck may be too cool or the pizza may need a little more time near the floor before turning.
The flame should be active, but it should not overpower the pizza. A large flame produces strong top heat and rapid charring. That can be useful for a pizza that needs quick finishing, but it can also blacken the rim while leaving the cheese underdone. Many experienced pizzaiolos reduce the flame slightly after launch, then raise it for the final moments if the top needs more color.
Build Dough for the Oven You Have
Dough and oven must work as a system. A dough developed for a 60-second bake in a 900°F oven may behave poorly in a kitchen oven at 550°F. Conversely, a formula designed for a long, lower-temperature bake can dry out or burn in a compact high-heat gas oven.
For gas-fired pizza ovens, a moderately hydrated dough gives most students a dependable starting point. Hydration around 60 to 65 percent can provide extensibility and an open rim without making launching unnecessarily difficult. Higher hydration can produce beautiful results, but it narrows the margin for error. The dough becomes more prone to sticking, the center can weaken under wet toppings, and a small oven may require more careful flame management.
Fermentation deserves equal attention. Under-fermented dough resists opening and bakes dense. Over-fermented dough can become fragile, sticky, and difficult to turn. The right maturity is visible and tactile: the dough ball should feel gassy and relaxed, stretch without snapping back, and retain enough strength to hold a thin center.
Use flour economically during shaping. Excess bench flour burns on the deck and creates a bitter taste beneath the pizza. If the oven floor begins to look dusty or the next pie develops black flour patches, clean the deck between bakes with an appropriate brush and manage your launch surface more carefully.
Launch, Turn, and Finish With Intention
A good launch begins before the pizza reaches the oven. Open the dough evenly, leaving a defined rim and avoiding a thick center. Apply sauce and toppings with restraint. Neapolitan pizza is not a vehicle for a heavy layer of ingredients. Too much sauce lowers the center temperature, too much cheese releases water, and too many toppings delay the bake until the crust is already overdone.
Before launching, give the peel a short shake. The pizza must move freely. If it hesitates, address the sticky area before it enters the oven. A damaged launch is difficult to rescue, particularly in a small gas oven where the pizza must be positioned precisely away from the strongest flame.
Set the pizza toward the center or slightly forward of the hottest zone rather than directly against the burner. Let the base establish structure for several seconds. Then begin turning in small, deliberate movements. A full rotation is usually not one motion. Turn a quarter at a time, checking the rim and underside as you work.
In a rear-flame oven, the back edge will color first. Rotate that edge away from the flame before it crosses from spotted to burnt. This requires attention, not a fixed timer. A pizza can be ready in 70 seconds on one day and 110 seconds on another because deck temperature, gas pressure, dough temperature, and topping moisture all change the bake.
When the cheese is melted, the rim has expanded and developed controlled spotting, and the underside is evenly colored without excessive blackening, remove the pizza promptly. Let it rest for a brief moment before cutting. That pause allows steam to settle so the center is less likely to collapse under the wheel.
Common Gas Oven Problems and Their Causes
A scorched rim with a pale base usually points to excessive flame relative to deck heat. Lower the flame, allow the floor to recover, or launch farther from the burner. If the bottom burns while the top remains pale, the opposite relationship is the problem: the deck is too hot, or the flame is too low to finish the top in time.
A soggy center often comes from topping load rather than baking skill. Drain fresh mozzarella well, use a measured amount of tomato, and avoid piling cold ingredients onto a thin dough center. It can also indicate insufficient deck heat, especially if the pizza is removed early to prevent the rim from burning.
If every pizza gets worse during a session, the deck may be accumulating burned flour or losing heat faster than it recovers. Give the oven time between bakes when necessary. In a compact gas oven, pushing pizzas through continuously can reduce floor temperature even while the flame remains high. Clean the deck, check the surface temperature, and adjust the pace rather than trying to force the next pizza through.
Treat the Flame as a Cooking Tool
Gas offers a valuable advantage: the ability to make repeatable adjustments. Use that control with the same seriousness that a wood-fired pizzaiolo gives to fire management. Learn where your oven runs hottest, how long the deck needs to recover, and how your preferred dough responds at different flame settings.
At Neapolitan Pizza School, this is the standard worth pursuing: not imitation by appearance, but command of the relationship between dough, heat, and time. Once you can read those three elements, a gas oven stops being a compromise and becomes an instrument for precise, expressive pizza.