
A dough ball can look ready long before it is ready to open. The difference becomes obvious at the bench: properly fermented dough stretches with little resistance, holds a soft rim, and bakes into a light cornicione. Learning how to proof pizza dough means reading the dough itself, not simply following the clock.
For Neapolitan pizza, proofing is not a pause between mixing and baking. It is the controlled final stage of fermentation, where yeast activity, gluten relaxation, and gas retention come into balance. Get it right and the dough opens easily with a delicate, airy structure. Get it wrong and even a well-made dough can feel tight, fragile, flat, or overly sour.
What Proofing Means in Neapolitan Pizza
Pizza makers often use fermentation and proofing interchangeably, but it helps to separate the stages. Bulk fermentation happens after mixing, while the dough rests as one mass. Proofing usually refers to the final rest after dividing and balling. Both stages matter because they create the dough's flavor and structure, but the final proof determines whether each dough ball is ready to shape.
During proofing, yeast continues producing carbon dioxide. The dough gradually expands, while its gluten network relaxes enough to become extensible. Enzymes also continue breaking down complex carbohydrates, which supports browning and flavor during a fast, high-heat bake.
The goal is not to make the dough as large as possible. A fully proofed Neapolitan dough ball should be gassy but still organized. It needs enough strength to trap air and enough relaxation to open by hand without snapping back.
Start With a Dough Formula You Can Control
Proofing cannot correct a poorly mixed dough or an unsuitable formula. Before changing times, make sure you can measure the inputs that drive fermentation: flour strength, water temperature, yeast quantity, salt, dough temperature, and room temperature.
For a traditional-style Neapolitan dough, a moderate hydration level often gives the most predictable handling. Higher-hydration dough can produce an exceptionally open rim, but it also ferments and softens differently. It demands more confidence during mixing, balling, and opening. Lower hydration can be easier to handle, yet it may feel firmer and produce a less expansive cornicione.
Yeast quantity should match your planned fermentation schedule. More yeast is not a shortcut to better dough. It can push the dough past its ideal point before service, producing a sticky surface, excessive spread, and a sharp fermented aroma. Use less yeast for longer, cooler schedules and more only when your proofing window is short.
How to Proof Pizza Dough Step by Step
After mixing, place the dough in a covered container for its bulk fermentation. The dough should be protected from drafts and surface drying, but it does not need to sit in a hot environment. Excess heat speeds fermentation unpredictably and can weaken the dough before it is divided.
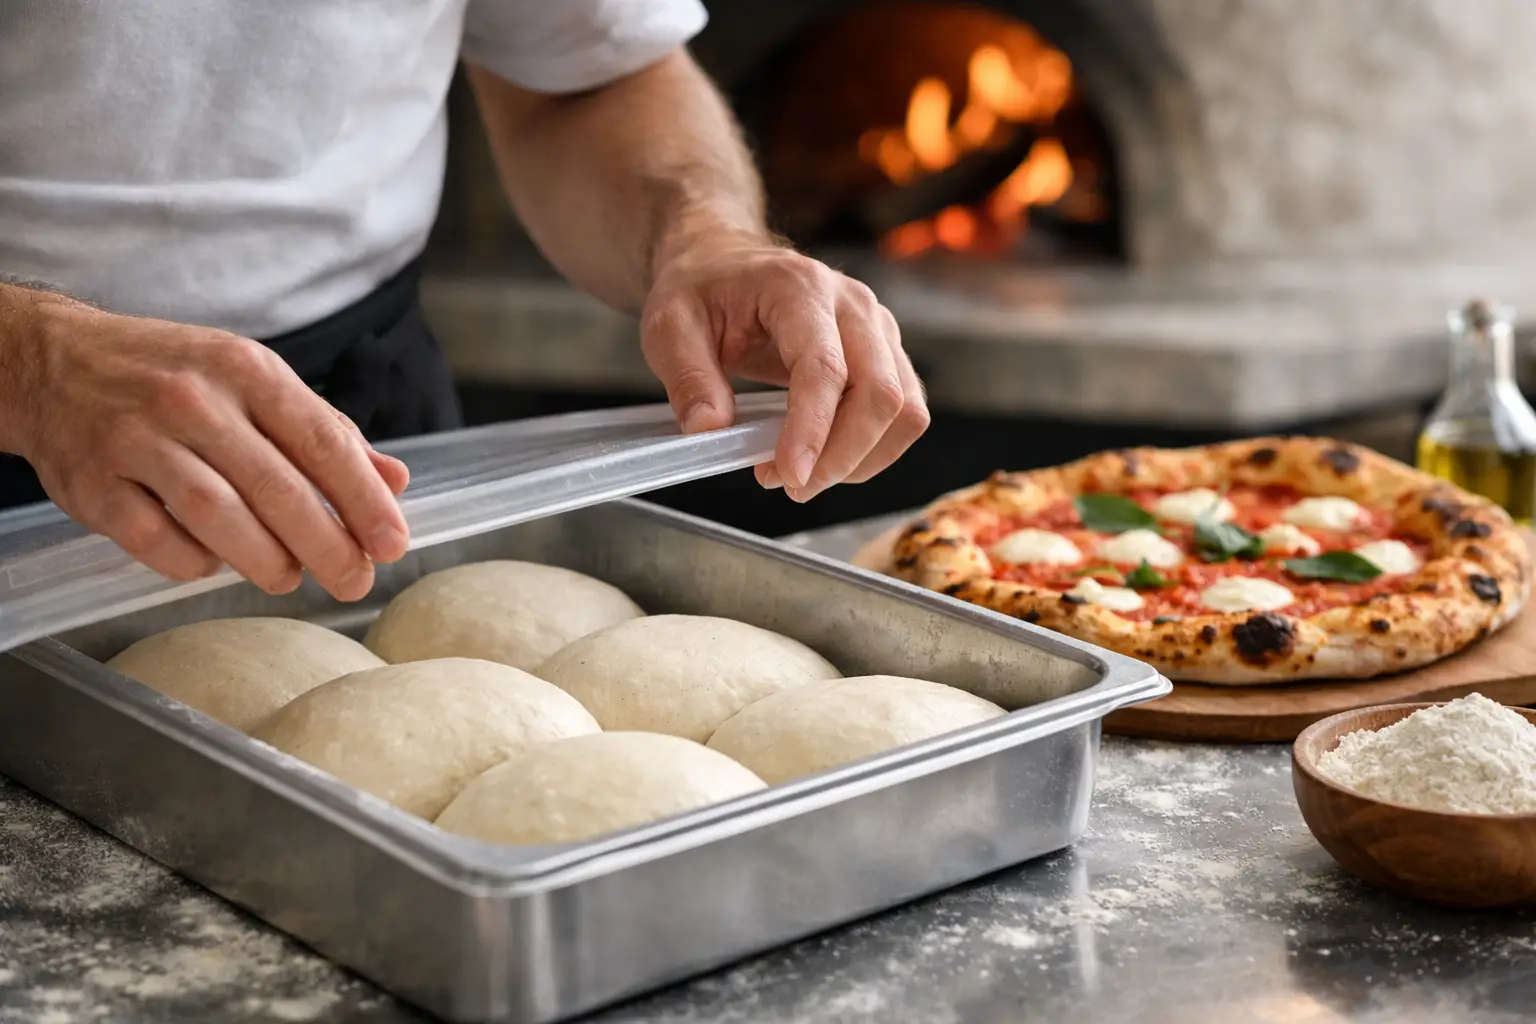
Once the bulk rest is complete, divide the dough into individual portions and form smooth, taut balls. A clean balling technique creates surface tension, which helps each portion hold its shape while gases develop inside. Place the balls in covered dough boxes or individual containers with enough room to expand without touching.
Proof the dough at a stable temperature until it has relaxed and visibly increased in volume. In many home and professional settings, this final proof may take several hours at room temperature. The exact time depends on the dough's temperature, yeast level, flour, hydration, and the amount of fermentation that occurred before balling.
A refrigerated schedule changes the calculation. Cold fermentation slows yeast activity but does not stop it entirely. Dough that has been refrigerated should usually return toward room temperature before opening, so the gluten can relax and the yeast can resume activity. A cold dough ball often feels tight and may tear at the edge, even if it has fermented well in the refrigerator.
Do not force a fixed number of hours onto every batch. A dough proofed at 78°F will behave very differently from the same formula at 68°F. Professional consistency comes from controlling conditions and recognizing readiness, not from treating time as the only measure.
Use Temperature as Your Primary Control
Dough temperature is one of the most useful variables a pizzaiolo can manage. If your room is warm, reduce the water temperature during mixing, shorten the room-temperature phase, or use a cooler fermentation plan. If your room is cool, expect proofing to take longer rather than adding yeast impulsively.
A proofing box can be useful, but it should provide gentle stability, not aggressive heat. Dough exposed to a very warm proofing environment may expand quickly, then lose strength just as quickly. For Neapolitan pizza, controlled fermentation is more valuable than speed.
Cover the Dough Correctly
A dry skin on a dough ball is not a minor cosmetic issue. It prevents even expansion and can cause tearing when you open the pizza. Keep dough boxes covered and avoid placing them near fans, air-conditioning vents, or direct sunlight.
If you use individual containers, choose ones that are large enough for the dough to rise. Lightly oiling the container can help with release, although many pizza makers prefer minimal oil when working toward a traditional Neapolitan style. The key is preventing sticking without coating the dough so heavily that it becomes difficult to handle.
Signs Your Pizza Dough Is Properly Proofed
The strongest indicator is how the dough behaves in your hands. Still, several visual and tactile cues help you decide when to begin opening:
- The dough ball has expanded noticeably, often by roughly 50 to 100 percent, without collapsing outward.
- Its surface is smooth, soft, and slightly inflated rather than dry, dense, or heavily blistered.
- A gentle fingertip press leaves a shallow impression that slowly begins to recover.
- When lifted from the box, the dough feels light and relaxed but retains enough strength to stay together.
The finger test is useful, not absolute. A very wet dough may remain indented even before it is fully ready, while a lower-hydration dough may recover more quickly. Use the test alongside volume, aroma, and handling feel.
A properly proofed dough should have a mild, pleasant fermented scent. Strong alcohol, sharp acidity, or an overly yeasty smell can indicate that the dough has moved beyond its best window.
Underproofed vs. Overproofed Dough
Underproofed dough resists opening. It springs back after pressing, fights the stretch, and may shrink once on the peel. In the oven, it can produce a dense rim because the gluten is still too tight and the yeast has not developed sufficient gas.
If your dough is underproofed, the best correction is usually more time at an appropriate temperature. Avoid aggressively stretching it to force the size you want. That approach can damage the dough and leave an uneven crust.
Overproofed dough presents the opposite problem. It may feel weak, sticky, and difficult to lift cleanly. The ball can spread wide in the box, and large bubbles may collect beneath the surface. When opened, it may tear easily or lose its round shape. In the oven, an overproofed pizza can bake pale, flat, or unevenly because the dough has exhausted much of its strength.
If dough is only slightly overproofed, handle it gently and bake it promptly. Use a lighter touch during opening, avoid pressing air from the rim, and keep toppings restrained. A heavily overproofed dough is difficult to restore. Reballing may create a more manageable shape, but it will not recreate the balanced structure of a properly timed proof.
Opening the Dough at the Right Moment
Proofing ends when shaping begins, so the transition matters. Remove a dough ball carefully from its box using a dough scraper and place it in flour with the smooth side facing down. Turn it once, then press from the center outward, leaving a defined rim untouched.
If the dough opens easily to the desired diameter and the rim remains inflated, your proof was well judged. If it tightens repeatedly, let it rest for another 15 to 30 minutes before trying again. If it spreads too quickly or tears, move efficiently, use less force, and bake without delay.
The best proofing schedule is the one that fits your flour, room, workflow, and oven. Record your dough temperature, fermentation times, and results after each bake. Over several sessions, those notes become more valuable than any generic timetable. They teach you to recognize the moment when a dough ball is not merely risen, but ready to become pizza.