
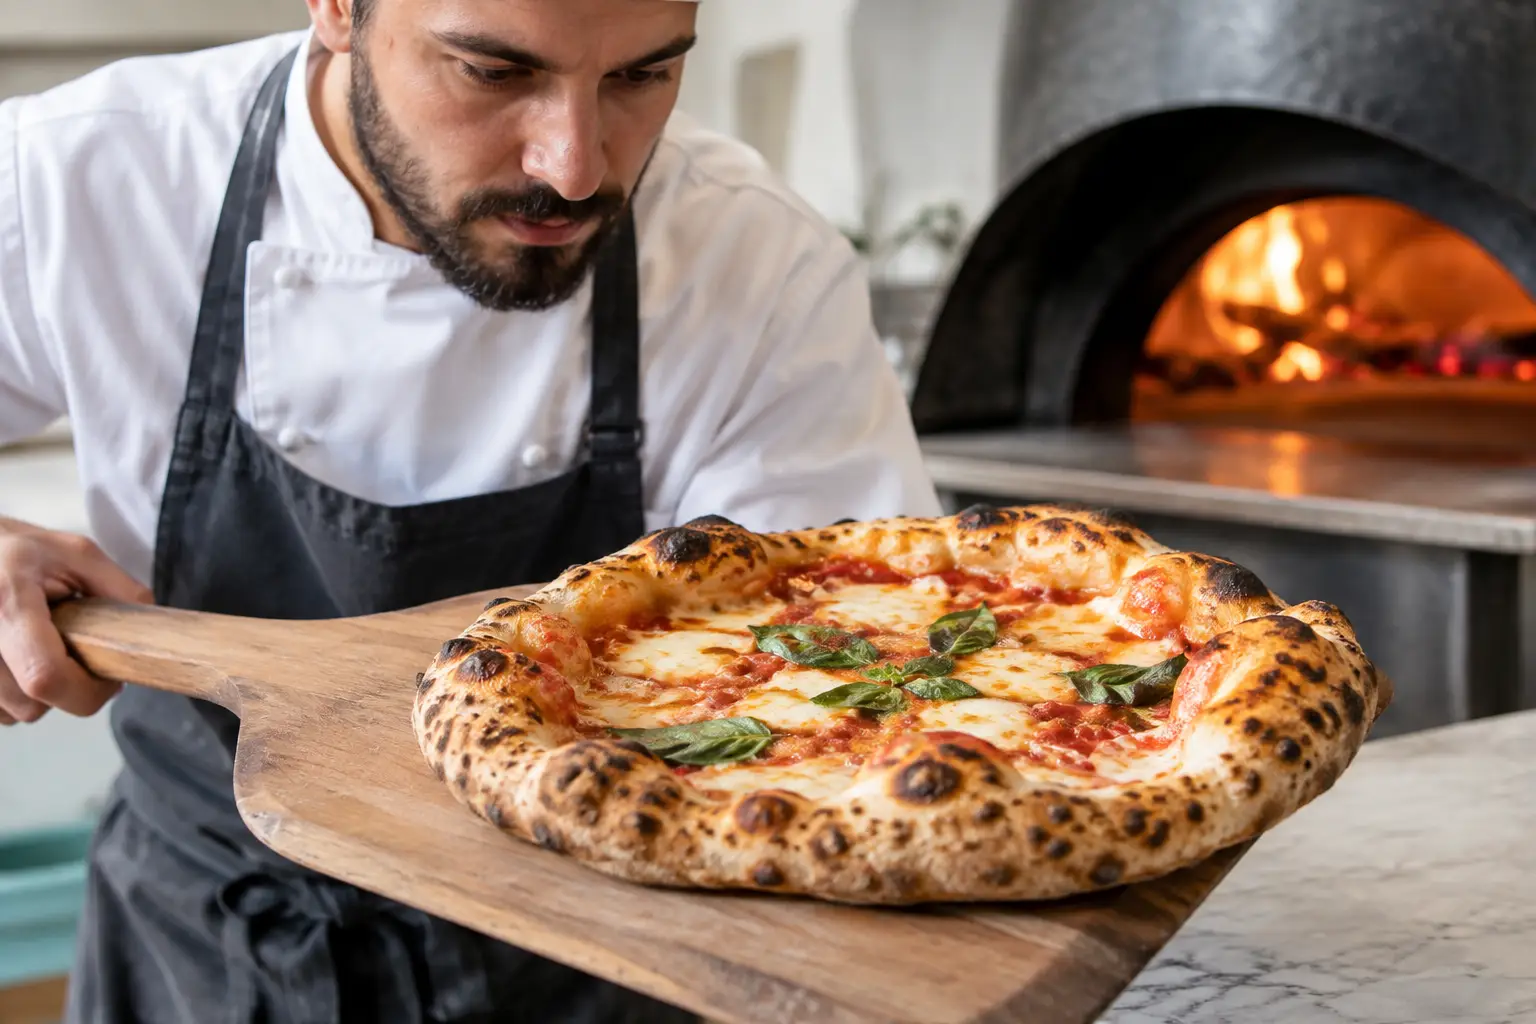
A blistered cornicione is one of the clearest signs that a Neapolitan pizza has been properly fermented, shaped, and baked. But not every bubble is a success. Understanding pizza crust blistering causes helps you distinguish the delicate leopard spotting and open, inflated rim associated with a well-made pizza from large, weak, or scorched blisters that compromise texture and appearance.
For a pizzaiolo, blistering is not an isolated event in the oven. It is the visible result of decisions made from mixing through final bake. Dough temperature, fermentation maturity, flour strength, handling, topping moisture, oven floor heat, and flame position all contribute. The goal is not to eliminate blistering. The goal is to create controlled expansion and even coloration while preserving a light, tender cornicione.
What Creates Blisters in Pizza Dough?
At its most basic, a blister forms when gas and steam expand inside the dough faster than that area of dough can set. During fermentation, yeast produces carbon dioxide, building a network of small gas cells within the dough. In the oven, those cells expand rapidly. Water turns to steam, heat activates the final stage of oven spring, and the dough structure firms around the expanding gases.
In a Neapolitan bake, this transformation happens quickly. A properly heated oven can bake a pizza in roughly 60 to 90 seconds. The rim rises because the dough still contains enough trapped gas and extensibility to expand, while the intense heat dries and colors the surface.
Small, scattered blisters are usually welcome. They contribute to the characteristic irregularity of a hand-formed cornicione and often indicate good fermentation. Large balloons, isolated pale bubbles, or blackened domes may point to an imbalance. Context matters: a single dramatic blister on an otherwise well-baked pizza is not necessarily a flaw. Repeated problems are worth diagnosing.
Pizza Crust Blistering Causes in Fermentation
Fermentation is the foundation of good blistering because it determines both gas production and dough strength. Dough that is underfermented has not developed enough internal gas, so it may bake dense and tight with limited expansion. The crust can still blister in isolated places, but the overall rim often lacks volume and tenderness.
Overfermented dough presents a different issue. Excessively mature dough can become fragile, overly extensible, and difficult to shape without deflating. Its gas cells may merge into larger pockets, increasing the chance of oversized bubbles. It can also color too quickly, especially where thin spots or exposed blisters sit closest to the flame.
A mature dough should feel aerated but still resilient. When pressed gently, it should yield and slowly recover rather than collapsing or snapping back sharply. Time alone does not define maturity. Room temperature, dough temperature after mixing, yeast quantity, flour type, and refrigeration all change the fermentation schedule.
Temperature deserves particular attention. A dough that warms too quickly can race through fermentation before its gluten network has fully supported the expanding gas. A dough that stays too cold may remain tight and underdeveloped. Measuring dough temperature is more reliable than judging readiness solely by the clock.
Dough Handling Can Trap Oversized Pockets
Even an excellent dough can develop undesirable blisters through careless opening. The center of a Neapolitan pizza should be pressed outward with the fingertips, moving gas toward the edge while leaving the cornicione intact. If you stretch the dough aggressively, fold it over itself, or trap excess flour between layers, you can create large enclosed air pockets.
Avoid using a rolling pin. It compresses the dough unevenly, removes much of the gas that should support the rim, and can leave the pizza structurally inconsistent. Hand opening preserves the fermentation pattern while allowing the center to become thin enough for a proper bake.
Bench flour is another frequent contributor. Too much flour under the dough can prevent direct contact with the oven floor and create a pale, dry underside. Flour caught on the upper surface can also encourage uneven blistering and bitter char. Use only enough flour to keep the dough moving, then brush away the excess before topping and launching.
When a large bubble appears during stretching, gently press it out before the pizza enters the oven. Once it begins to inflate under high heat, there is little opportunity to correct it without damaging the pizza.
Oven Heat Determines Whether Blisters Are Beautiful or Burned
A hot oven does not automatically produce a better crust. The balance between floor temperature and upper heat determines how quickly the base sets, how the rim expands, and whether blisters color evenly.
If the oven floor is too cool, the pizza may remain in the oven too long while waiting for the bottom to bake. The exposed rim then receives extended flame heat and may develop excessive or heavily charred blisters. If the floor is too hot, the base can burn before the cornicione has fully risen and colored.
Flame placement matters as much as temperature. A strong flame directly above one side of the pizza can scorch high blisters before the rest of the rim catches up. Rotate the pizza deliberately and watch the color of the cornicione, not just the clock. The highest points will brown first, so they provide immediate feedback about the relationship between flame intensity and bake time.
In a home pizza oven, recovery between pizzas is especially important. The floor can lose heat after several bakes even while the flame still looks strong. Allow the deck to recover, and adjust the flame if the top is coloring much faster than the bottom.
Hydration, Flour, and Toppings Affect Surface Blistering
Higher-hydration dough can produce an open, light rim because more water supports steam expansion. However, it also demands stronger technique. A dough that is too wet for the flour strength or the baker's handling ability may spread, tear, and form uneven blisters. More water is not automatically more authentic or more skilled.
Flour selection affects how well the dough retains gas. A flour with appropriate strength for the chosen fermentation schedule can stretch without tearing and support a fine, irregular cell structure. Flour that is too weak may lose structure during a long fermentation. Flour that is too strong may resist opening and produce a tougher result unless it is given enough time and hydration.
Topping balance also changes how the crust behaves. A heavily topped pizza weighs down the center, slows baking, and can force the rim to spend too long under the flame. Watery sauce, excessive fresh mozzarella, or wet vegetables release steam and moisture that delay the set of the center. The result may be an overblistered edge surrounding an underbaked middle.
Use a restrained layer of sauce, drain fresh mozzarella well, and distribute toppings with the bake in mind. Neapolitan pizza depends on balance. The dough, topping load, and oven must work as one system.
Correcting the Blister Pattern You See
A useful diagnosis begins with the shape and location of the blister. Large, pale bubbles often point to trapped air from shaping or to uneven dough structure. Numerous oversized blisters combined with weak, slack dough suggest overfermentation. Small dark blisters concentrated on the flame side usually indicate excessive upper heat, slow rotation, or an overly long bake caused by a cool floor.
If the rim is flat and dense, look first at underfermentation, overly aggressive degassing, or dough that was opened too thin at the edge. If the rim is inflated but leathery, evaluate whether the pizza spent too long in the oven. A great cornicione should have lift and color, but it should also remain tender enough to compress lightly when bitten.
Change one variable at a time. If you alter yeast quantity, fermentation temperature, hydration, shaping pressure, and oven settings all at once, you will not know what solved the issue. Record dough temperature, fermentation duration, oven conditions, and bake time for each session. Serious improvement comes from repeatable observations rather than guesswork.
At Neapolitan Pizza School, this is the discipline behind reading a finished pizza: the crust is evidence. Learn to see each blister as feedback from the dough and oven, then make the next adjustment with purpose. Over time, the cornicione stops being unpredictable and becomes a reliable expression of your process.