
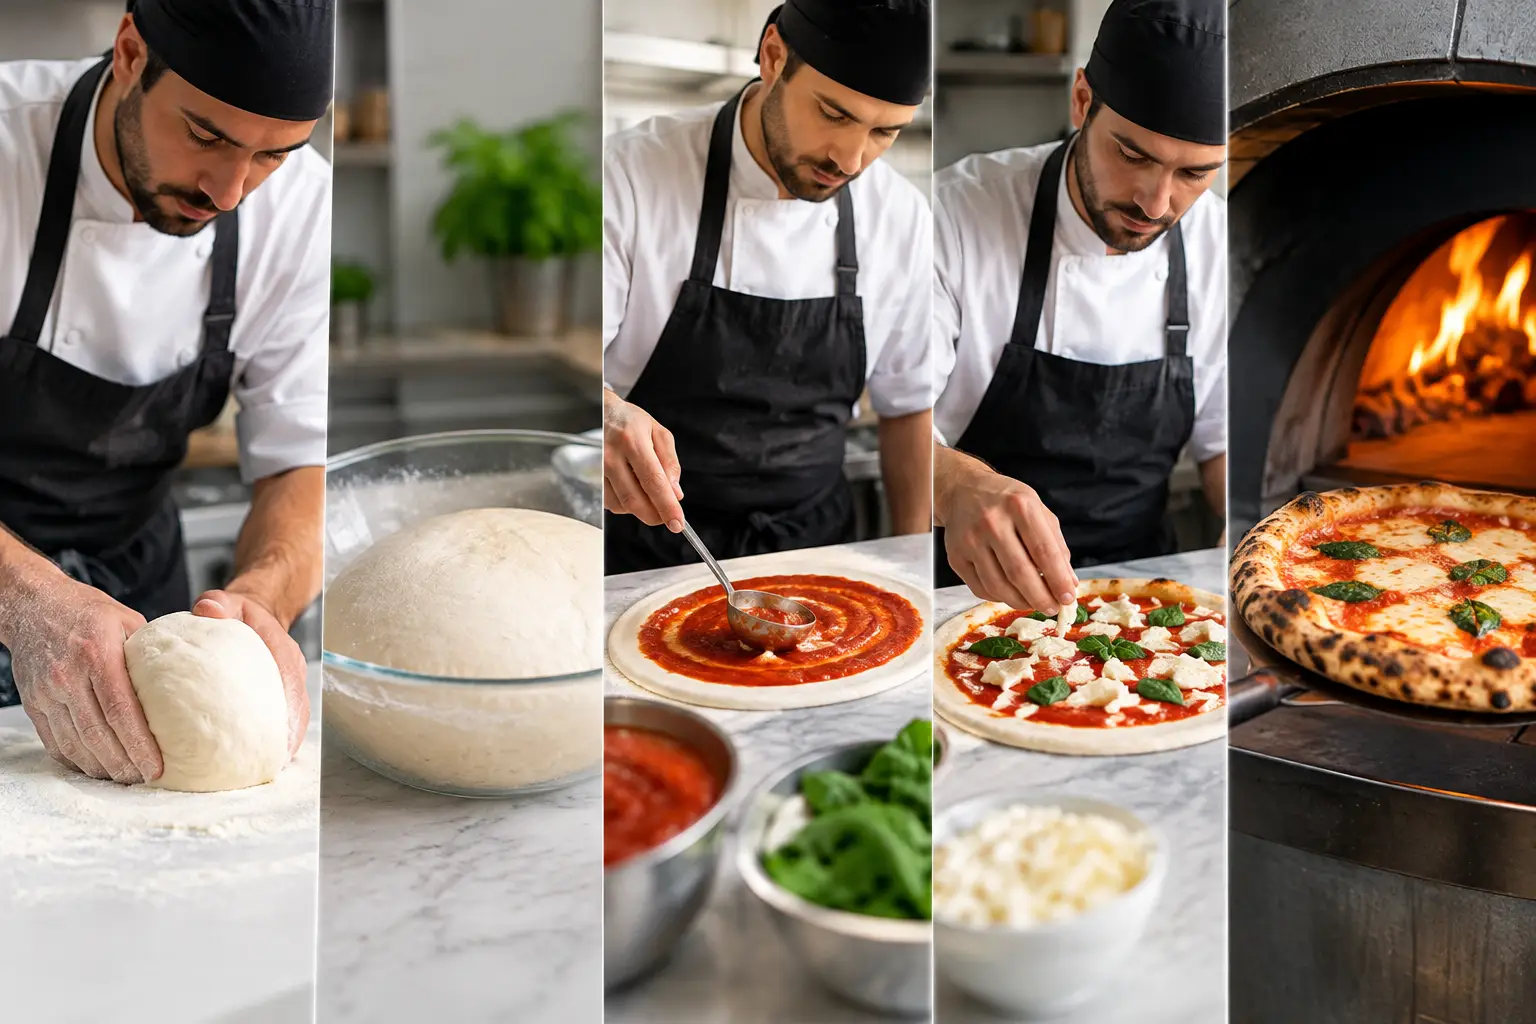
A pizza that looks simple can expose every weakness in a pizzaiolo’s process. Dough that tears at the bench, a center that stays wet, a cornicione that colors before the base sets - these are not isolated mistakes. They are signals. Effective pizza skill progression comes from learning to read those signals, identify the stage where control was lost, and correct the process with purpose.
For Neapolitan pizza, improvement is not a matter of collecting tricks. It is a disciplined sequence: understand the dough, manage fermentation, open the disk without damaging it, apply toppings with restraint, and bake decisively in a properly managed oven. Each skill supports the next. Skipping ahead usually creates inconsistency that is difficult to diagnose later.
Pizza Skill Progression Starts With Process Control
Many students begin by chasing the finished pie: dramatic leopard spotting, an inflated rim, or the soft center associated with a proper Neapolitan pizza. Those are worthwhile goals, but they are outcomes. The work begins earlier, with repeatable conditions.
Before changing flour, hydration, or fermentation time, establish a baseline. Use the same formula for several bakes. Measure water and flour by weight, record dough temperature, note room conditions, and keep ball weight consistent. Then make one deliberate adjustment at a time. If the dough is difficult to open, the cause may be insufficient fermentation, excessive strength, low hydration, cold dough, or handling that has compressed the gas structure. Changing all of those variables at once teaches very little.
A useful progression is built around control before speed. You should be able to produce a dough that behaves predictably before trying to turn pizzas quickly. You should be able to open a disk evenly before attempting a larger size. You should understand how your oven responds before pushing it to its hottest setting. This approach may feel slower at first, but it produces real competence rather than occasional success.
Stage One: Build Dough Judgment
Dough is the foundation of the entire craft. At the beginner stage, the goal is not to make the most complicated formula. It is to recognize what properly developed, properly fermented dough feels like.
Start by learning the relationship between mixing temperature, final dough temperature, fermentation schedule, and extensibility. A dough can be mixed cleanly and still fail if it reaches its target temperature too high or too low. Warmer dough tends to move faster, while cooler dough develops more slowly. Neither is automatically right or wrong. The appropriate choice depends on the flour, yeast amount, ambient conditions, and intended bake schedule.
During mixing, develop enough strength for the dough to hold its form, but do not treat maximum mixing as the goal. Overworked dough can become tight and resistant to opening. Underdeveloped dough may spread excessively, tear, or lack the structure needed to retain gas. The correct endpoint is a dough with cohesion, elasticity, and enough extensibility to open without a fight after fermentation.
Balling introduces another important discipline. Create surface tension without pinching the dough harshly or trapping flour inside the ball. A well-formed dough ball should mature evenly and release from the dough box with minimal damage. If every ball behaves differently, do not blame the oven first. Review scaling, balling pressure, dough temperature, and placement in the box.
Keep notes on what you see. Is the dough relaxed at opening? Does it spring back? Does it feel gassy but fragile? These observations turn fermentation from a vague waiting period into a process you can evaluate.
What Progress Looks Like at the Dough Stage
Progress is not simply a higher hydration percentage or a longer fermentation. It is the ability to predict how the dough will behave before it reaches the bench. A developing pizzaiolo begins to recognize when the dough needs more time, when it has gone too far, and when the issue began during mixing rather than proofing.
Stage Two: Open the Pizza Without Erasing the Dough
Hand stretching is where good fermentation can be preserved or destroyed. The objective is to move gas outward from the center while protecting the rim. The center needs to become thin enough to bake through quickly; the outer edge needs to remain intact enough to expand in the oven.
Begin with gentle pressing from the center toward the edge, leaving a defined border. Avoid flattening the entire dough ball as if making a pie crust. The cornicione depends on the gas retained in that outer ring. Once the center has been opened, use controlled stretching to reach the desired diameter while maintaining an even thickness.
A pizza that tears repeatedly may indicate weak or over-fermented dough, but it can also reflect poor bench technique. Excessive flour, sharp finger pressure, and pulling one area too thin will all create failure points. Conversely, a disk that shrinks aggressively may be telling you that the dough is too cold, under-fermented, or too tight from mixing.
Topping is part of shaping, not a separate decorative step. A Neapolitan pizza has very little time in the oven, so topping volume directly affects the bake. Sauce should be balanced, not flooded. Cheese should be distributed with the center in mind. Wet ingredients require particular judgment because they release moisture just as the dough is trying to set.
The trade-off is clear: generous toppings can be appealing, but they demand more from the oven and often compromise the center. A lighter, balanced topping load gives the dough a better chance to bake in the short window that defines the style.
Stage Three: Learn the Oven, Not Just the Temperature
High-heat pizza baking is active cooking. An oven thermometer can provide a useful reference point, but it cannot tell you everything that matters. Floor heat, dome heat, flame position, recovery time, and the condition of the baking surface all influence the result.
A pizza may char underneath while the rim remains pale when the floor is too aggressive relative to the dome. It may color beautifully on top while staying underbaked in the center when the floor lacks sufficient heat. A pizza with uneven spotting may have been positioned poorly, launched onto an inconsistent section of the floor, or turned too late.
Develop a deliberate bake routine. Assess the floor before launching. Place the pizza with an understanding of where the flame is working. Watch the rim set, then turn the pizza in small, controlled movements rather than reacting after one side has already burned. The exact timing depends on the oven and the dough, which is why copying another pizzaiolo’s bake time is less useful than learning to read your own oven.
Recovery matters when producing more than one pizza. A single successful pie from a fully heated oven is not the same as maintaining quality through a service. As pizzas are baked, the floor changes. The oven may need time, fuel, flame adjustment, or a change in where you launch. Restaurant operators should treat this as a production skill, not an afterthought.
Stage Four: Use Errors as Technical Feedback
The fastest path forward is not to avoid failure. It is to make failures specific enough to diagnose. When a pizza disappoints, describe the result precisely. "Bad" is not useful. "The rim was pale, the underside was overly dark, and the center was soft" gives you a starting point.
Then trace the issue backward. A wet center may come from excess sauce, wet cheese, a thick middle, low floor heat, or a bake that ended too soon because the rim colored quickly. A dense cornicione may point to weak fermentation, rough opening, insufficient heat, or dough balls that were handled too aggressively. One symptom can have several causes, so resist the urge to make a dramatic correction based on one bake.
Photographing pizzas and keeping a concise bake log can accelerate this stage. Record the dough formula, timing, dough temperature, oven conditions, topping choices, and result. Over several sessions, patterns become visible. That record is particularly valuable for professionals who need to train a team and protect consistency across shifts.
A Practical Pizza Skill Progression Plan
Work in focused sessions rather than trying to improve every variable at once. Spend one session evaluating dough maturity and opening with simple toppings. Spend the next practicing launch, turning, and oven positioning. Then repeat the same pizza across several bakes to observe oven recovery. This kind of repetition may seem narrow, but it builds the sensory judgment required for confident production.
For serious students, structured instruction shortens the trial-and-error cycle because feedback connects the finished pizza to the decisions that produced it. At Neapolitan Pizza School, the value of technical training is not only learning a traditional method. It is learning how to assess your own work against that method, make a correction, and repeat it under changing conditions.
Skill develops when your hands, eyes, and judgment begin to agree. Keep the formula simple enough to understand, the process disciplined enough to repeat, and the standard high enough that each pizza teaches you something useful.